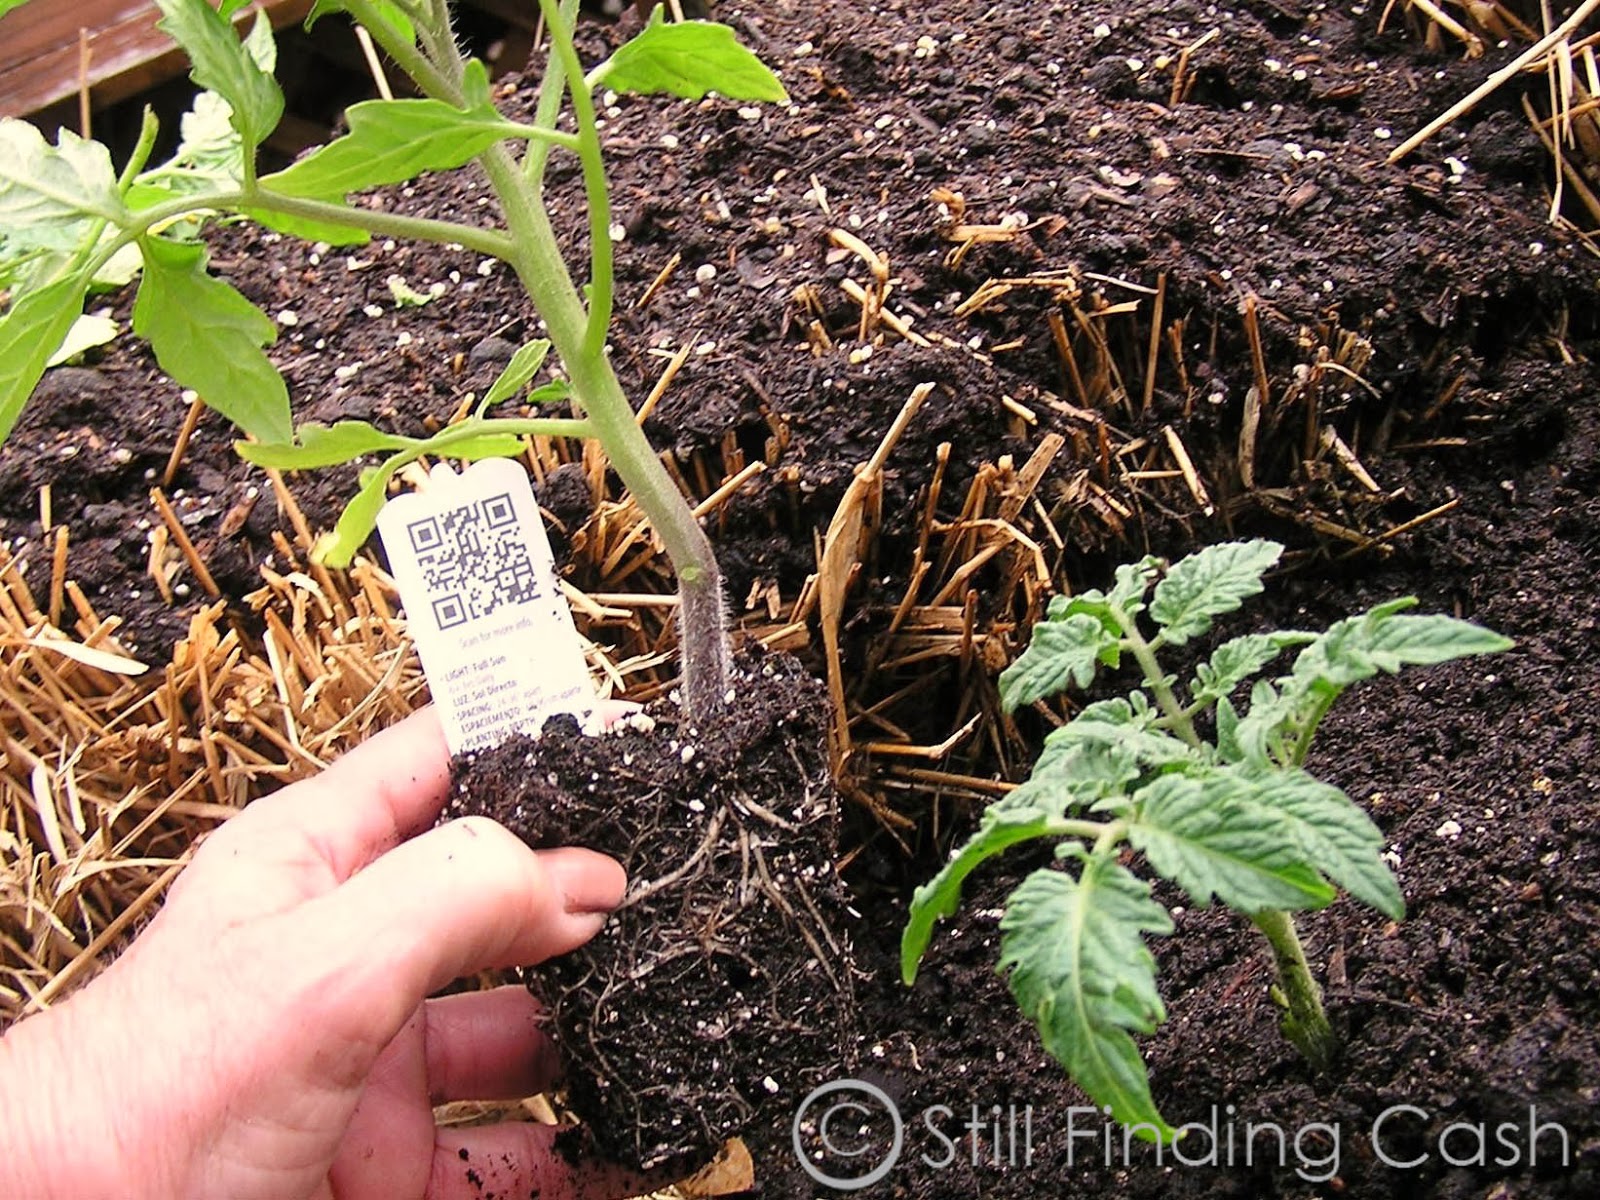
Saturday, May 26, 2012

Memorial Day

A day to remember and to honor those who sacrificed their lives to secure and maintain the blessings of liberty for a grateful nation.
My brother will be remembered and his service honored as long as we who loved him remain.

Thursday, May 17, 2012

American Flag Images - Download FREE

These American flag images are my personal property photographs, copyrighted under the terms of this blog and are offered by me to you for your personal, non-commercial use. Capture, drag and drop.  
Thank a soldier and remember those who served in the past.


Tuesday, May 8, 2012

Cooler Corn - Hot Idea

GREAT IDEA FOR MEMORIAL DAY COOK-OUT
I see ideas like this one on the internet all the time.  Some of them don't work.  This one did and I was so surprised at how well it worked that I will never kitchen-cook corn on the cob for a crowd again...and you won't want to either. 

No more heating the kitchen and timing the boiling corn so that it will be done but not overcooked and tough.  Here's how it works: 
  • Preheat a clean cooler by rinsing with hot tap water.  
  • Place shucked corn inside.  
  • Pour a pot of boiling water over the corn.  (I used my spaghetti cooking pot)  
  • Close the lid and set the cooler aside. That's it!
While you are busy preparing the rest of the meal or putting burgers on the grill or driving to a picnic, the corn is taking care of itself.  Mine stayed in the cooler for 30 to 45 minutes.  I don't think the exact time matters a bit.  As we were serving plates, everyone got a kick out of serving their corn directly from the cooler.   It was tender, sweet and PERFECT.  

Give it a try and let me know if you are as pleased with the results as I was.  Enjoy!

Friday, May 4, 2012

Fringe Scarf - DIY

The first fringe scarf I saw put me in mind of a very special gal I know.  When I discovered it was made from a T- shirt, I thought. "I can do that!"
 
Nothing to sew!
Sooooooo simple!
Even the beading is a piece of cake.

All that's needed is a "tube" T-shirt (one without side seams) and a pair of scissors.

It doesn't matter if the T-shirt is a solid color or striped or has printing or pictures on it.

The orange lettering on my white T resulted in interesting little flashes of color on the white fringe.

INSTRUCTIONS
1. Lay the shirt out flat. Imagine a straight line from underarm to underarm & cut along that line.
2. Discard the top portion (the part with the sleeves) then cut off the hem and set it aside.
3.  Begin cutting strips, about 1" wide, (from what was hem toward what was neck) stopping about 3" short.


4.  Once all your strips are cut, PULL each strip as hard and as far as you can.  You'll be surprised how long they get and they curl (roll) on their own.
THAT'S IT.  YOU'RE DONE.  ALMOST INSTANT SCARF!
NOTES:
1.  An extra-large T-shirt will make a scarf that can be twisted into a figure 8, going twice around the neck, resulting in a bulkier look.
2.  When beading, it might be necessary to narrow the strips that are going to take beads so that they will fit through the bead holes.  I just cut those strips in half, making two narrower strips out of the ones I was going to bead and knotted the strips below the beads so they wouldn't come off.

THE "INFINITY" SCARF
It doesn't get any easier than this.
Start cutting strips, this time across the body of the shirt tube instead of up and down.  Make the strips 2 1/2' to 3" wide.   Don't worry about being neat or exact measurements.  It doesn't matter.  Once cut, you need to pull/stretch each piece as far as you can.

  Your arms probably aren't long enough so use your foot or loop it over a doorknob or get a friend to help.  These make really long loops.  Once they are all stretched, cut a small strip from the discarded t-shirt top to use as a tie to join the long loops together in a bunch.  

To wear the infinity scarf, just toss it over your neck, twist and repeat 2 or 3 times.  Keep the place where the loops are tied together at the back of the neck.

SO - WHAT TO DO WITH THE "HEMS"?
I can't stand the thought of wasting anything, so help me find a use for these hem pieces.  Could they be hair scrunchies?  Bracelets?  Ankle wraps?  They would make good ties for staked plants in the garden.  Any ideas?  Leave a comment.
So here they are, 4, over-the-hill, T-shirts turned into 4 scarfs on a rainy afternoon. Cost...$0.  I'm still finding cash!
 

Thursday, April 26, 2012

Taking a Little Time

Just a quick update on the studio progress.  192 sq ft of "I'm lovin' it" tucked away in my little corner of the yard.  Only 12' x16' but sometimes looking larger than it is...sometimes feeling like a project that will never end.  Maybe that's what I like so much about it.

Spring, in all its glory, seems to be on its own time line this year with things blooming early or late or just out of order.  The Dogwood and Azaleas hardly lasted a week and the Jasmine is not only early, it seems to want to stick around a while.  Wish you could smell it.
 My little "friends" are busy, as usual, looking for last years acorns in all my potted plants and newly spread mulch.
The Cardinals are nesting in the roses outside my bedroom window again this year.  The hatchlings are tiny, well camouflaged and not willing to pose long enough for me to focus through the window screen but their hungry squeaks sure make their presence known.
The cabbages in the big pot are growing faster and larger than the ones planted in the garden.  Go figure.
And the tomatoes, scattered in pots among the flower beds, are doing their thing.
As for me and mine, life is spinning in all directions at once.
There is no such thing as enough time once you pass 60.

Sunday, April 1, 2012

Tie Dye Easter Eggs - FREE

There's never a need to spend a cent when you can use the things you have on hand.
Vinegar (white or apple cider), standard food coloring, a few rubber bands and a wrinkled plastic bag are all that's needed. Oh, and a few hard boiled eggs!
Wrap rubber bands around some of your hard boiled eggs. Pour a small amount of vinegar into a little bowl. With your finger, moisten the surface of one egg at a time with the vinegar. Lightly touch the tip of a food coloring bottle to the moist egg. Quickly, pat the wet color surface with the crumpled plastic bag or hold the bag in your hands and roll the egg between them. If you want to use more than one color, leave a portion of the egg white and add the new color directly from the bottle, patting with the bag as you go. Try not to overlap more than two colors or they will blend into a yukky brownish color.
Unless you are fond of colored fingers, it is a good idea to wear plastic gloves. If you forget or, like me, don't care, a little bleach will bring you back to normal.
Sit the eggs aside to dry. After they have dried, remove the rubber bands and rub the surface with a drop or two of olive oil for a porcelain looking surface.

To see an earlier post about drawing silly faces with a Sharpie on plain white eggs and growing green hair atop the eggheads, click HERE.

Chocolate/Peanut Butter Eggs

It's difficult to break away from traditions like baskets full of Easter goodies even when the budget is groaning. But I remembered a long ago spring in West Virginia when a group of wonderful, farming mothers taught me to make candy and thought I'd give it another go.
The recipe is incredibly simple: equal amounts of smooth peanut butter and powdered sugar. 1/2 cup of each made these eight eggs. The mixture will be very stiff and if you can work in a little extra sugar, all the better. "Flour" your hands with powdered sugar and roll into egg shapes. Leave the eggs to sit on waxed paper for several hours to dry as much as the humidity will allow.
Melt about 1/2 square of Almond Bark. Put a dabs of melted Bark on waxed paper and top with each egg as you go. Dust your hands with powdered sugar if needed for easy handling. Allow the Bark to harden completely before handling further. These "bases" will give you something to grasp while dipping the tops of the eggs. If the base spreads out as it hardens, cut off the excess with kitchen scissors to maintain the 'egg' shape.
Once the Bark base is hardened, melt 1 1/2 squares of Almond Bark and stir in 1/2 tsp SOLID shortening - NOT oil or butter. Holding the eggs by their bark bases, dip into the melted Bark and place on a wire rack to harden.
Your eggs will likely come out much smoother and prettier than mine. I was using a mixture of new almond Bark along with some that I had saved from a previous use and the old Bark did not melt completely so I got lumps. Know what? The kids will never notice. Aren't they wonderful? The kids that is.
Anyway, enjoy your eggs. They take a little time but are certainly easy and cost next to nothing to make. Sure beats a dollar a piece at the grocery store and we can actually pronounce all of these ingredients.

Easy to Make Chocolate/Marshmallow Eggs

Saving on things like Easter candy is not as hard as it might seem. One of my favorites has been the chocolate covered marshmallow eggs. Once upon a time, they were inexpensive. These days there is less money left over for fun stuff and the prices just aren't what they used to be.
Yesterday, I stumbled upon marshmallows at the grocery store. I noticed them because they were not on the candy aisle or on the baking/goody-making aisle but turned up on the juice aisle tucked below the endless rainbow of bottles and mixes. In addition to the regular marshmallows and the minis, I was surprised to find colored ones, flat ones, stacked ones and gigantic ones. No wonder shopping has become stressful. But that's another story and don't get me started on cereal variations.Anyway, and probably because I had just made the chocolate covered peanut butter eggs, I thought I might try coating a few marshmallows. But, by the time I got home, just dunking the marshmallows in chocolate had lost its appeal. "If they were only shaped like eggs", I thought. Hummm. Not as easy as my mental image. Even with the scissors dusted with powdered sugar, they still gathered goo and had to be scraped clean with a knife from time to time. My egg shapes were far from perfect but close enough. I tossed the trimmed marshmallows in a bag with a little powdered sugar and it kept them from sticking together perfectly. My hands were tired from trimming with the sticking scissors after a bakers dozen, and since this was a trial endeavor, I stopped there.
With so few to coat, I microwave-melted only a single square each of chocolate and vanilla Almond Bark and added solid shortening for thinning, according to the package directions. Dipping was easier than ever because I stabbed the marshmallows with a small skewer (even a toothpick would work). Then, just spooned the coating over. One thing I did discover was the need to tap off as much of the extra powdered sugar as possible. Anyway, the entire project was super simple and incredibly inexpensive. It would be a fun activity with children regardless of the season.

One of these days, when I have endless hours to search, I'll try to find my old West Virginia recipe for making the real chocolate coating which, as I recall, included paraffin. In the meantime, the Almond Bark works great and nothing could be easier.

Saturday, March 31, 2012

Silly Easter Eggs & Pound Cake

Uh Oh! Did we do that?I've seen these silly egg faces in email forwards over the years. Usually they've been arranged in clever photo still-life's with eggs broken in a puddle of innards or screaming beside a skillet containing one of their friends. Though I get a kick out of the professional photos, I guess I'm not that motivated. But I did remember that I made faces and stands years ago for grandchildren who are now expecting children of their own. On that long ago occasion, I planted Alfalfa to grow as hair. Here in my corner of the Florida panhandle, where the late 20th century is yet to arrive, Alfalfa seed is unavailable for sprouting as a food source. So, I've had to make do with Bermuda Grass seed and will post a photo as soon as these characters develop "hair".
The process is incredibly simple. Try to crack your eggs above the center line so you have more "face" space. Rinse and set aside until enough are accumulated for your project. Make stands or "necks" by rolling cardboard into tubes about the diameter of a quarter and an inch or so tall. Wrap the tube "necks" with white paper and decorate with whatever scrap materials you may have on hand: bits of ribbon, lace, gimp or buttons or simply draw a collar with colored markers or fabric paint. If using fabric paint, remember that it needs quite a bit of time to dry. I forgot.
Fill the egg shells with potting soil and water carefully. I use an eye dropper for watering.
Sprinkle the soil surface with seeds, cover them with a tiny bit more soil, water again and place them in a sunny window...watering daily.
If you are only making a few, it might be fun to make a cartoon conversation "balloon" to display a caption. My captions are: Bottom Left - "Uh oh! Did we do that?" Top Left - "I got red paint on your Easter Dress!" Top Right - "Don't lick your face. Use a napkin." Bottom Right - "Good Grief!"
HERE ARE SOME FACE IDEAS TO GET YOU STARTED
If you need an excuse to crack a bunch of eggs, give this Pound Cake a try. It's a family recipe handed down by my step mother, is "no fail" and unbelievably moist and delicious.

Lora's Sour Cream Pound Cake
  • 3 c. Sugar
  • 1 c. sour Cream
  • 6 Eggs - separated
  • 2 sticks Butter - (do NOT substitute)
  • 3 c. Plain Flour
  • 1/4 tsp Baking Soda
  • 1 tsp Vanilla Extract
Preheat oven to 300. Cream butter and sugar together until very creamy. Add egg yolks, one at a time while beating well after each addition. Sift flour 3 times. Add soda to sour cream and stir well. Add flour and sour cream to butter-sugar-egg mixture. Beat well. Add Vanilla and fold in egg whites. pour into well greased, lightly floured tube pan. Bake at 300 for 1 1/2 to 2 hours. Cool on rack.
*****
EGG "HAIR" UPDATE
After almost 2 weeks, there is finally some "green" up top. I don't know what I was thinking time-wise, other than I expected to be tying pony tails and trimming flat-tops by now. But there's still more than a week before Easter. Sure wish I could have used alfalfa seed.